More about Riptide?
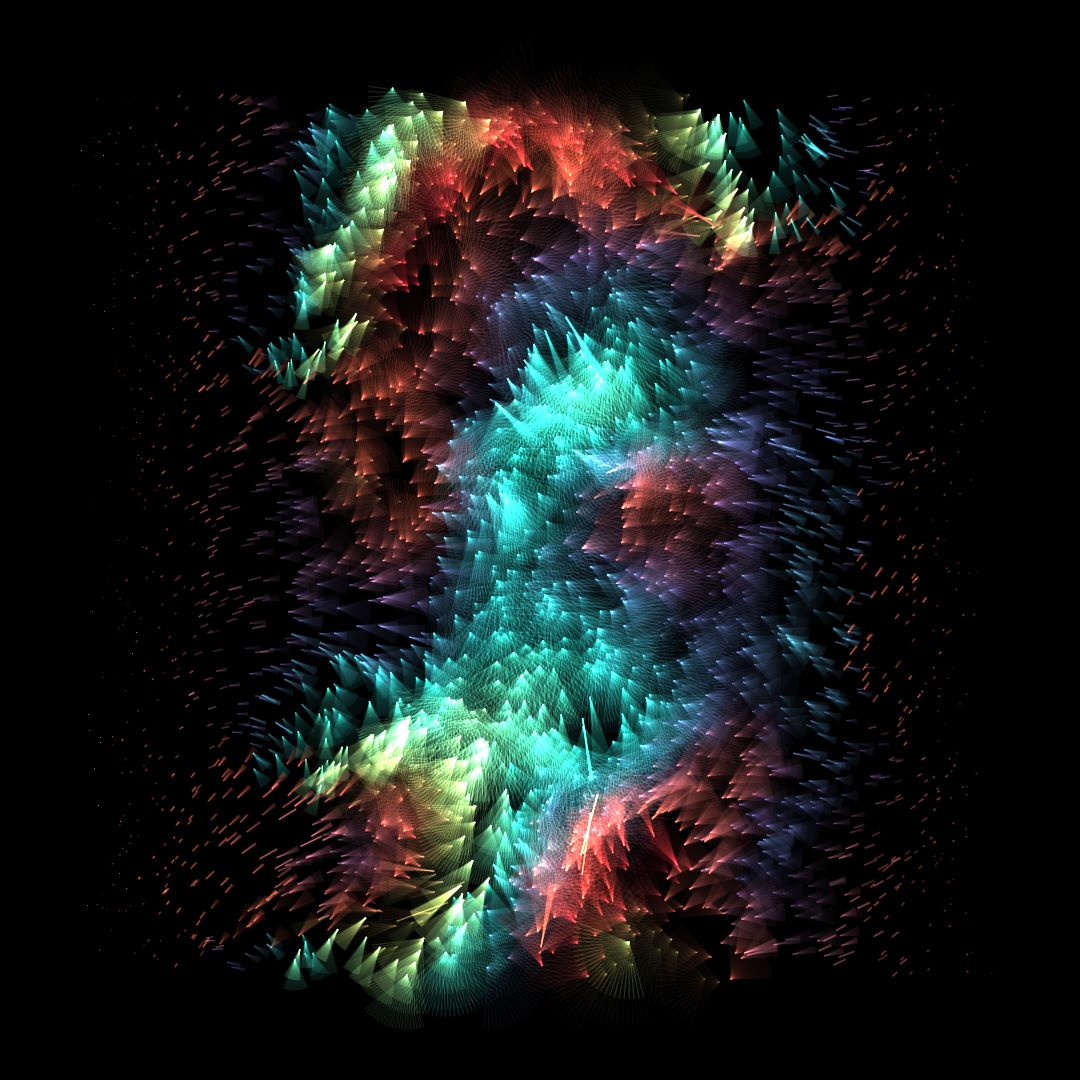
Riptide is a generative project in which the content is controlled by multiple layered 2D Perlin noises. Each layer controls a specific parameter of the art.
Grid layout
First a grid of random size is generated. The first 2D Perlin noise controls the position of each point of the grid. Both frequency and amplitude of the displacement are randomized.


This grid will be used to place different groups of lines in order to create the desired effect.
Group of lines
Each group of lines has multiple parameters, each one controlled by an independent 2D Perlin noise:
- The number of lines contained in each group
- The spread between the lines in each group
- The heading direction of each group


The line length and width are not controlled by Perlin noises. They are constant across the image.
When combining the groups of lines and the grid, the art starts to take form …

Colors
Riptide uses a system of gradients based on selected color palettes.
A color palette is randomly chosen and converted into a linear gradient. The direction of each group of lines is mapped to the color gradient to determine its color. A random offset is added to ensure a good amount of variation across the different editions.
The same is done for the the opacity of each group. The opacity is determined by the direction of the group of lines +/- a random offset.

Applying the colors and opacities on the groups of lines already gives some nice results!

Envelopes / Modifiers
In order to break the monotony of simple rectangles and give the project a wider variety of results some modifiers can be applied on top of the current algorithm.
A random modifier is selected across a hard coded list. Each modifier takes X and Y coordinates as inputs and returns a value between 0 and 1 indicating how strong the changes should be for each group of lines depending of its position.
This modifier will randomly be applied on one or many parameters like the length of the lines, the opacity, the direction …
This gives some nice variations to the series.


Light / Dark modes
Each edition can be switched to dark or light mode by pressing the [T] key. Dark mode looks usually better on screen. Light mode can allow nice prints on paper.


Tilt-Shift Blur
In order to give this project some nice organic effect, a tilt-shift blur can randomly be applied. This effect can be toggled by pressing the [B] key of your keyboard.


